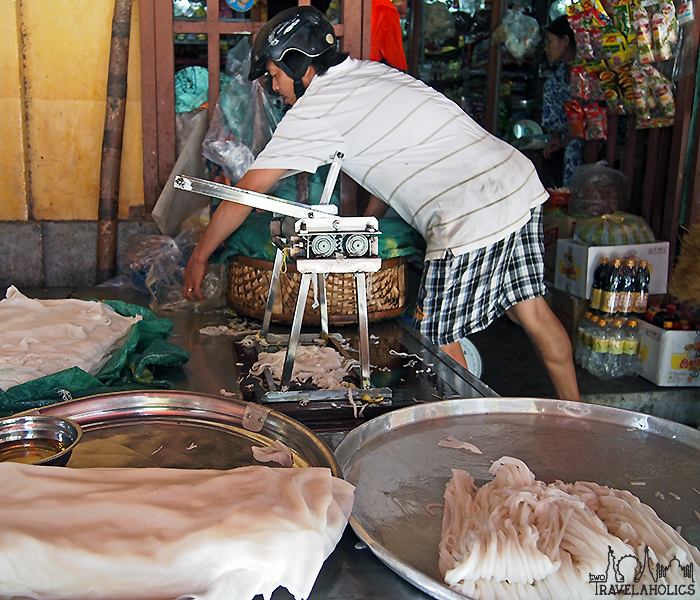
A few weeks ago, I ate delicious ramen noodles at Daikaya, a Japanese restaurant in Washington, D.C. (thanks, Trevor & Tina!). They were delicious because they tasted fresh and were packed with flavor. These ramen noodles reminded me of the fresh rice noodles Mike and I ate during our five months in Southeast Asia. They were soft and delicate, yet al dente and springy at the same time – something that is impossible to achieve from rehydrated industrial-made dry noodles.
Reminded of my favorite Asian dishes, I immediately wanted more. But nowadays, eating out at a restaurant is a treat for Mike and me. There are a few reasons for that: 1) we actually enjoy cooking, 2) we like to know what goes into our food and have control over it, 3) we feel healthier when we cook for ourselves, and 4) paying $13+ for a bowl of soup is a little mind-boggling after spending $1.50 in Laos for the best soup of my life.
All to say that this excellent bowl of ramen inspired me to attempt to make my own homemade noodles. So one day I went about doing so using this recipe from Instructables. Mike enjoyed it (he thought they had a dumpling-like flavor and consistency, in a good way), but I thought the noodles came out tasting more like pasta noodles than ramen or soup-worthy noodles in general. So I decided to put my soup noodle quest on hold until I can drive out to an Asian grocery store in the D.C. suburbs and pick up a decently priced bag of rice flour (a difficult objective to achieve when you live inside a city and don’t own a car). Until I can achieve my new dream of making delicate rice noodles, my new project goal is to make delicious whole-wheat pasta.
The recipe I’m about to share with you is one that Mike and I are pretty happy with (printer-friendly single-page version here). I’ll share a few annoyances along the way to give you a better idea of what I messed up and how you can improve on it. Good luck, and like any proud chef, please share your results and what you learned in the comments below!
Whole-Wheat Spinach Pasta, serves 4
Ingredients:
2 cups spinach leaves
2 1/2 cups whole-wheat flour
1/2 tsp salt
1/2 tsp pepper (or to taste)
2 eggs
1/2 cup water (for steaming spinach)
Step 1: Boil the water and drop the spinach leaves in until they are fully wilted. Drain the water but save it in a bowl for later. Put the spinach into a blender or food processor. Blend the spinach until it liquifies. You may need to add in some of the reserved water.
Step 2: Put the flour into a large bowl and make a well with the flour to crack the eggs into. Then, add the salt, pepper and spinach purée. Mix the well’s ingredients with a fork until they are well blended. Then start incorporating the flour. (I made the mistake of using a whisk. Good intentions, but the mix was getting so clumpy that it was a large worthless mess.)
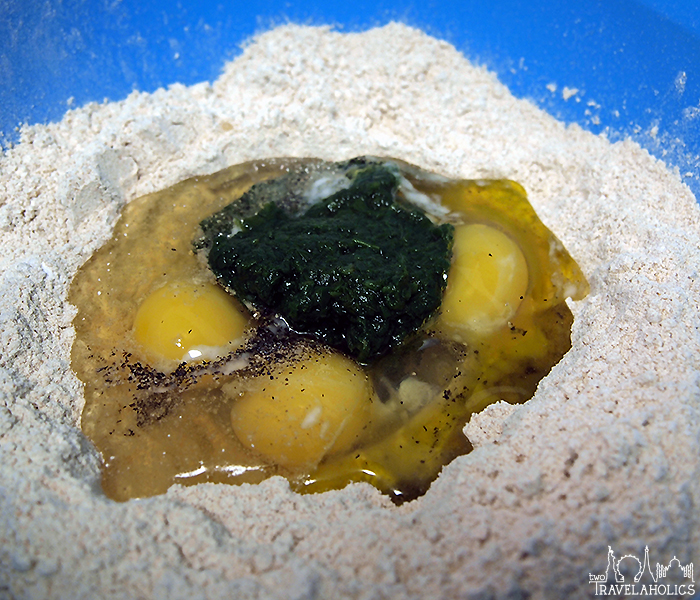
Pasta dough ingredients: whole-wheat flour, eggs, spinach puree, salt and pepper. (You’ll see three eggs in the picture instead of two, and that’s because I made a larger batch here.)
Step 3: You’ll quickly get to a point where the fork seems useless and your hands would be better suited for the job. Wipe off the fork and start mixing the ingredients into a dough with your hands. If the mixture seems too dry, add some of the spinach water. Likewise, if it’s too watery, add more flour. Just use your best judgement. Knead the dough for up to 10 minutes to strengthen the gluten.
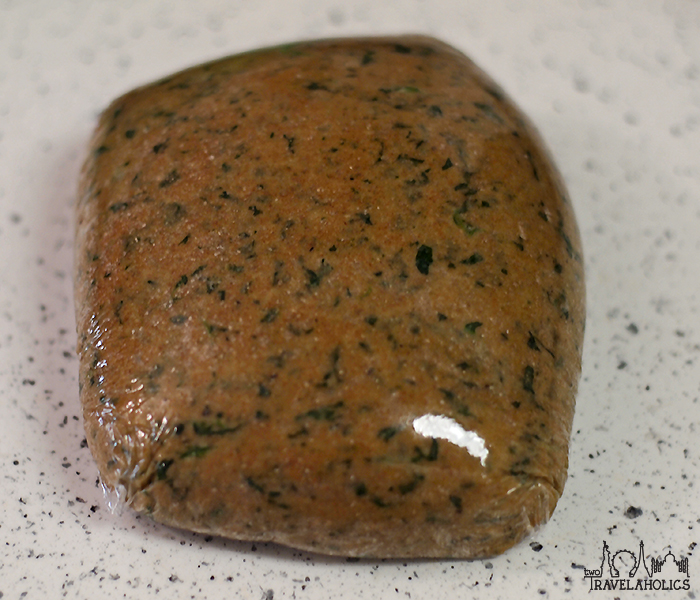
Step 4: After kneading the dough, let it rest at room temperature for an hour (or if you want to use it the next day, put it in the fridge). you can either put it in a bowl and cover it with plastic wrap or just completely wrap it in plastic wrap, which is what I did.
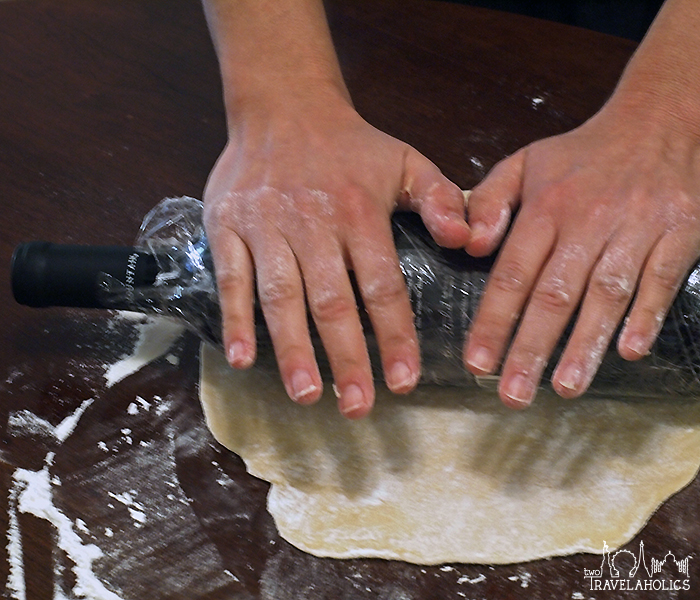
Step 5: Roll out the dough on a clean, floured work surface. (If you have a pasta machine, now would be the time to use it.) We have neither a pasta machine nor a rolling pin, so if you fall into the same boat, here’s what you do. Take a wine bottle and wrap it in plastic wrap. Use that as your rolling pin. Roll the dough out as thin as you can (this is extremely important because it will definitely thicken when you cook it). Add more flour to your work surface (I used my kitchen table since my counter isn’t large enough) and on top of the dough to prevent sticking to the rolling pin or work surface.
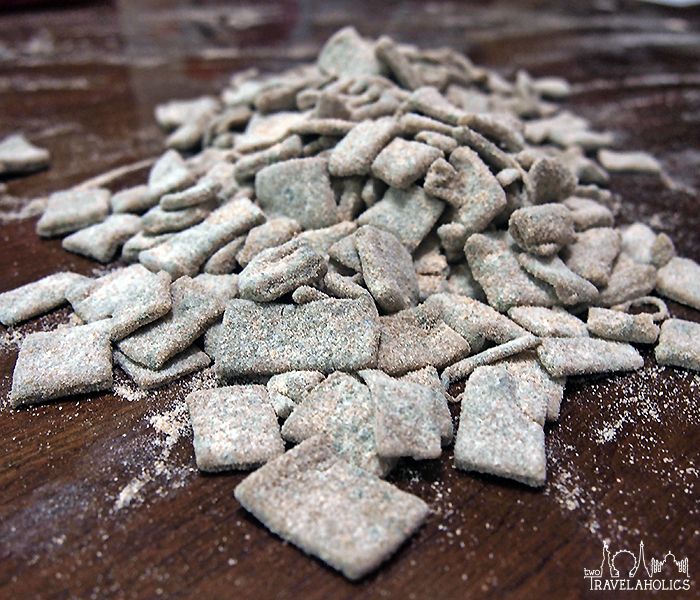
Step 6: Once the dough is thin enough, you can fold it so it’s easier to cut, just make sure that you put extra flour on the surface so the folds don’t stick together. Then, you can cut it with a knife or pizza cutter. This is very important: continue to add flour to your cut and uncut dough so it doesn’t stick together or to your knife. (Noodles as thin as angel hair are quite tough to cut on your own, so expect that the thickness of your noodles will be more like linguine. You could also opt for square or rectangular noodles like I did.)
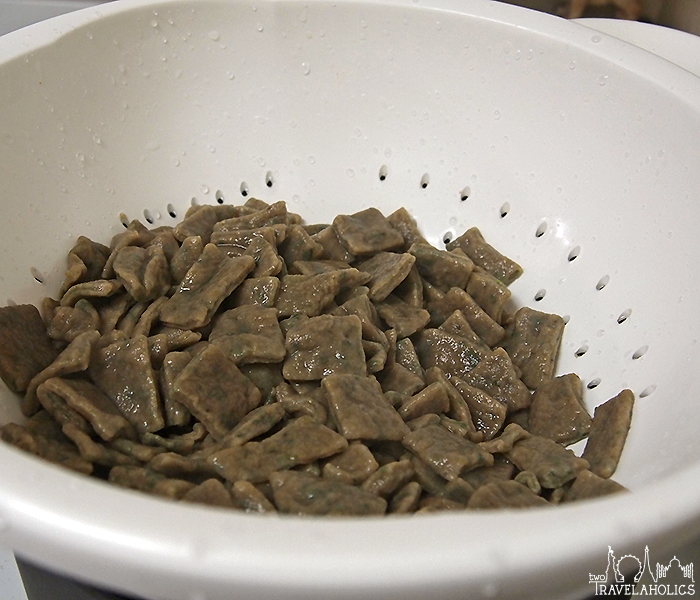
Step 7: Bring a pot of salted water to a boil and slowly drop your noodles into it. Be sure that your noodles are thoroughly floured so that they don’t stick together. (The excess flour will come off in the water, so don’t be concerned about that.) The thinner they are, the quicker they will cook (less than 5 minutes). Take a piece out every so often to check if they’re cooked to your liking. Once they’re done, drain the water, add a hearty sauce and enjoy!



Leave a Reply